
The sealant around a bathtub or shower does more than create a neat finish. It helps prevent water from entering the gaps between the tub, shower tray, walls, and surrounding surfaces.
Over time, old caulk can discolor, crack, shrink, peel away, or develop mold stains. Once the seal is damaged, water may reach areas that are difficult to inspect and dry.
Replacing the sealant is a manageable DIY project when the surrounding surfaces are sound and the old material can be removed completely. The key is careful preparation: new silicone will not reliably bond to dirty, damp, or soapy surfaces.
When Should You Replace Bathtub or Shower Caulk?
Inspect the joints around your bathtub and shower periodically. Replacement may be necessary if you notice:
- Cracks or gaps in the sealant.
- Sections pulling away from the tub or wall.
- Persistent discoloration or mold staining.
- Areas where the sealant has become brittle.
- Water appearing behind or beneath the tub or shower.
- A seal that has visibly separated from either surface.
Not every dark stain means the seal has failed. However, recurring mold, persistent dampness, or water damage may indicate a deeper problem that new sealant alone cannot fix.
If the surrounding wall, flooring, or substrate is soft, swollen, or damaged, investigate and repair the underlying issue before applying new silicone.
What You Need
Prepare the necessary materials before removing the old sealant:
- A suitable silicone sealant for bathrooms.
- A sealant removal tool or plastic scraper.
- A sharp utility knife, used carefully where appropriate.
- A cleaning cloth or sponge.
- A suitable cleaner for removing soap residue and dirt.
- Isopropyl alcohol, if compatible with the surface and sealant manufacturer’s instructions.
- Masking tape.
- Disposable gloves.
- A sealant finishing tool or another suitable tooling method.
Avoid metal scrapers on delicate acrylic tubs, fiberglass, or finished surfaces unless the manufacturer specifically permits them. A plastic removal tool is often a safer starting point.
Step 1: Remove the Old Sealant
New silicone should not be applied over loose, cracked, or deteriorating old caulk.
Start by removing the existing material:
- Cut carefully along both edges of the old sealant.
- Use a plastic scraper or removal tool to lift the material.
- Pull away loose sections slowly.
- Remove remaining silicone residue using a suitable silicone remover if necessary.
- Follow the remover manufacturer’s instructions and protect the surrounding surfaces.
Do not force a sharp blade into the tub, shower tray, tile, or waterproofing layer. A deep cut can create a more serious repair problem.
Continue until the joint is free of old sealant and loose residue.
Step 2: Clean the Joint Thoroughly
This is one of the most important parts of the job. Soap film, body oils, dust, cleaning product residue, and moisture can prevent silicone from adhering properly.
Clean both sides of the joint:
- Remove visible dirt and soap residue (see our Soap Scum Removal Guide).
- Use a suitable cleaner that will not damage the surface.
- Remove any remaining residue with a clean cloth.
- If using alcohol or another solvent, confirm compatibility with the tub, tile, and surrounding finish.
- Allow the surfaces to dry completely.
Do not apply new silicone while the joint is damp. Moisture trapped beneath the sealant can compromise adhesion.
If mold is present, address it with an appropriate cleaning method and allow the area to dry. If mold keeps returning, investigate ventilation, leaks, and moisture problems rather than simply covering the affected area.
Step 3: Check the Gap Before Applying Silicone
Inspect the joint after cleaning.
The surfaces should be solid, clean, and dry. If the gap is unusually large or deep, a backer rod may be needed to control sealant depth and prevent unsuitable three-sided adhesion.
GE recommends using a backer rod for gaps larger than 1/2 inch by 1/2 inch. Follow the sealant manufacturer’s guidance for the specific joint dimensions.
Do not use silicone to compensate for loose tiles, damaged wall panels, movement in the tub, or structural gaps that require repair.
Step 4: Apply Masking Tape
Masking tape can help create a clean, consistent sealant line.
Apply one strip along each side of the joint, leaving the intended bead width exposed. Keep the tape parallel to the joint and press its edges down so sealant cannot easily spread underneath.
Plan the application before opening the tube. Silicone has a limited working time, so it is better to have everything ready in advance.
Step 5: Apply the New Silicone Sealant
For a bathroom joint, use a sealant specifically designed for kitchen and bath applications and compatible with the surfaces being joined.
The GE Advanced Silicone 2 Kitchen & Bath Sealant is a 100% silicone product designed for water-exposed areas. The selected clear 2.8 oz tube is a practical option for smaller repair jobs.
Before applying it:
- Read the instructions on the product packaging.
- Cut the nozzle to create an opening suitable for the joint.
- Apply a continuous bead along the gap.
- Maintain steady pressure and avoid leaving empty sections.
- Work in manageable lengths so the sealant can be smoothed before it begins to skin over.
For a squeeze tube, follow the tube’s specific instructions. A caulking gun is only required for cartridge-style packaging.
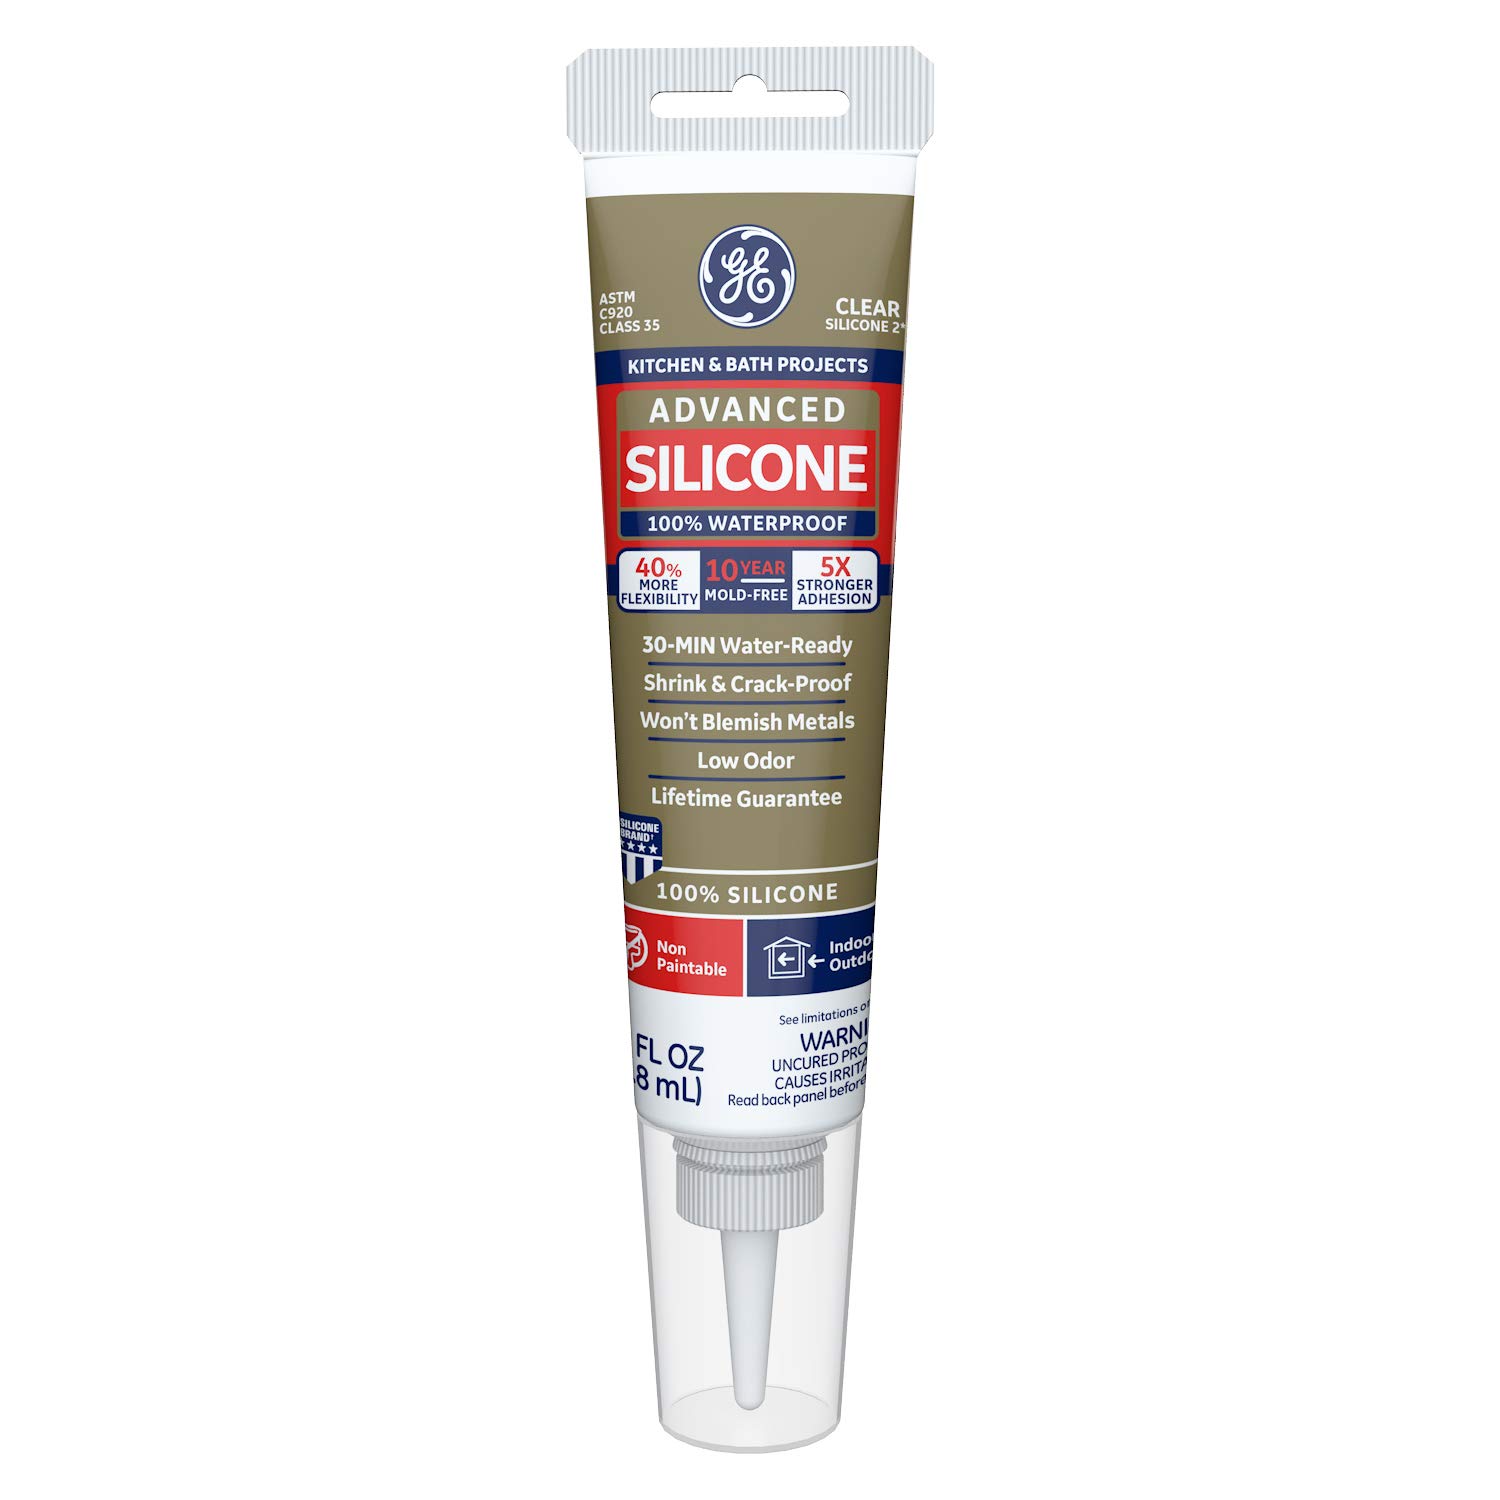
GE Advanced Silicone 2 Kitchen & Bath Sealant – Clear, 2.8 oz
100% silicone formula permanently flexible for wet environments. Provides 10-year mold-free protection and becomes water-ready in 30 minutes, ideal for small bathtub and shower joint repairs.
As an Amazon Associate, LifeMode earns from qualifying purchases.
Key product specifications:
- 100% silicone.
- Designed for wet areas.
- Permanently flexible.
- Available in clear, white, and almond finishes.
- Manufacturer-stated 10-year mold-free product protection.
- Manufacturer-stated 30-minute water-ready time.
Choose a color that suits the surrounding surfaces. Clear sealant is less visually prominent, while white can create a more defined edge.
Step 6: Smooth the Bead
Smooth the silicone while it is still workable.
Use a clean, dry gloved finger or a suitable sealant finishing tool. Apply light, consistent pressure to ensure the sealant contacts both sides of the joint.
The goal is a continuous, slightly concave bead without holes, gaps, or uneven edges.
Do not repeatedly work the same section after the sealant begins to skin over. This can damage the surface and produce a poor finish.
Remove masking tape immediately after tooling, before the silicone starts to cure. Pull it away carefully without disturbing the bead.
Step 7: Allow the Sealant to Cure
Follow the instructions on the exact product packaging.
GE states that Advanced Silicone 2 is water-ready after 30 minutes under the specified product conditions. However, water-ready time and full cure time are not the same thing. Its technical data sheet lists a typical full cure time of 24 hours.
For a reliable result, avoid using the bathtub or shower until the manufacturer’s stated waiting period has passed. Allow additional time if required by the label or environmental conditions.
Do not assume that a surface that feels dry is fully cured.
Common Mistakes to Avoid
- Applying Silicone Over Old Caulk: New silicone does not create a reliable repair when applied over loose or deteriorating material. Remove the old sealant first.
- Sealing a Damp Surface: Moisture and soap residue can interfere with adhesion. Clean and dry the joint thoroughly.
- Using Too Much Sealant: An excessively large bead is harder to smooth and may create an untidy finish. Choose a nozzle opening appropriate for the gap.
- Rushing the Job: Trying to use the shower too soon can damage the new seal. Follow the full product instructions, not just the initial surface-drying time.
- Ignoring Recurring Mold: Repeated mold growth may indicate poor ventilation, a leak, or moisture behind the surrounding surface. Recaulking alone may not solve the cause.
How to Maintain the New Seal
Once the sealant has fully cured:
- Keep the bathroom adequately ventilated.
- Remove standing water from surrounding surfaces when practical.
- Clean the sealant with mild soap and water.
- Avoid abrasive pads and aggressive chemicals that may damage the finish.
- Inspect corners and joints periodically.
- Address leaks or recurring dampness promptly.
A well-prepared joint and suitable sealant can provide a durable water-resistant barrier, but no sealant eliminates the need for regular inspection.
Final Thoughts
Recaulking a bathtub or shower is not difficult, but the quality of the result depends heavily on preparation. Remove the old material, clean and dry the joint, apply a continuous bead, and allow the silicone to cure according to the manufacturer’s instructions.
If you discover water damage, loose tiles, or persistent moisture behind the joint, repair the underlying problem before sealing the surface again.