
A smart thermostat can make home temperature control more convenient, help reduce unnecessary heating and cooling, and give you more control over your energy schedule. However, replacing a traditional thermostat is not simply a matter of removing one device and attaching another. Before buying or installing a Wi-Fi thermostat, you need to check your heating system, wiring, and compatibility.
This guide explains how to prepare for a smart thermostat installation, what to check before removing your old thermostat, and how to configure a new device.
1. Check Your HVAC System Before Buying
Not every smart thermostat works with every heating and cooling system.
Start by identifying the type of system you have:
- Central heating and cooling
- Gas or oil furnace
- Boiler-based heating
- Heat pump
- Electric baseboard heating
- High-voltage heating systems
Many smart thermostats are designed for low-voltage, 24V HVAC systems. They may not support electric baseboard heaters or other line-voltage installations.
For the Amazon Smart Thermostat, compatibility should be checked before purchase. It supports many conventional 24V systems, but it is not compatible with every heat pump configuration. In particular, certain dual-fuel systems that combine a heat pump with a gas or oil furnace are not supported.
Use the manufacturer’s compatibility checker rather than relying on the appearance of your existing thermostat. If you are preparing your broader heating system for cold weather, consult our guide on How to Prepare Your Home for Winter.
2. Understand the C-Wire Requirement
One of the most important installation details is the C-wire, also called the common wire.
Unlike many traditional thermostats that use batteries, Wi-Fi thermostats need a continuous power supply to operate their display and wireless connection. The C-wire provides this power from the HVAC system.
Before purchasing, check whether your existing thermostat has a wire connected to the terminal marked C.
If there is no C-wire connected, there may still be an unused wire behind the thermostat that can be connected at the HVAC control board. If no suitable wire is available, a compatible C-wire adapter may be required.
Do not assume that a thermostat will work without a C-wire simply because the old thermostat did.
Important: The Amazon Smart Thermostat requires a C-wire or a compatible C-wire adapter. Check the manufacturer’s installation instructions and compatibility information before proceeding.
3. Prepare for Installation
Before removing the old thermostat, prepare the workspace.
You may need:
- A screwdriver
- A phone or camera
- Wire labels
- A drill and suitable wall anchors, if required
- A level
- The manufacturer’s installation instructions
Most importantly, switch off power to the HVAC system at the circuit breaker or the system’s main power switch. Verify that the system is powered off before touching any thermostat wiring.
Take a clear photograph of the existing wiring before disconnecting anything. Make sure the terminal labels are visible. This photograph can help you identify where each wire was originally connected.
Label the wires individually according to their terminal markings. Do not rely on wire colors alone, because wiring conventions can vary between installations.
4. Remove the Old Thermostat
Once the power is off and the wiring has been documented:
- Remove the old thermostat’s front cover.
- Photograph the wiring and terminal labels.
- Label each wire according to its original terminal.
- Carefully disconnect the wires.
- Remove the old mounting plate.
- Keep the wires accessible so they do not fall back into the wall.
If you discover unfamiliar wiring, signs of high-voltage installation, damaged insulation, or a configuration that does not match the manufacturer’s instructions, stop and consult an HVAC professional.
5. Install the New Thermostat
Follow the installation instructions supplied with your specific thermostat.
For the Amazon Smart Thermostat, the Alexa app provides guided installation instructions. The process includes identifying the HVAC system, checking the wiring configuration, and connecting the thermostat to the home network.
In general, installation involves:
- Positioning the new mounting plate.
- Securing it to the wall.
- Connecting the labeled wires to the correct terminals according to the manufacturer’s instructions.
- Checking that the connections are secure.
- Attaching the thermostat display.
Do not guess terminal connections or modify wiring based on a generic online diagram. If the wiring does not match the official instructions, use a qualified installer.
After installation, restore power only when the wiring and mounting have been checked.
6. Connect the Thermostat to Wi-Fi and the App
Once the thermostat is installed, complete the software setup.
For the Amazon Smart Thermostat:
- Open the Alexa app.
- Go to Devices.
- Select Add Device.
- Choose Thermostat.
- Select Amazon as the brand.
- Follow the on-screen setup instructions.
The app guides you through connecting the thermostat to Wi-Fi and adding it to your Alexa smart home environment.
Make sure you have your Wi-Fi password available. Keep the thermostat within reliable wireless coverage of your router. To understand how Wi-Fi compares to other protocols in a connected home, see our guide on Smart Home Wireless Protocols Explained.
After setup, check that the thermostat appears online in the app and that you can change the temperature remotely.
7. Configure a Practical Heating and Cooling Schedule
A smart thermostat becomes more useful when its schedule reflects how the home is actually occupied.
Consider setting different temperatures for:
- Morning: when the household wakes up
- Daytime: when the home may be empty
- Evening: when people return
- Night: when sleeping temperatures may be different
Avoid making large temperature changes simply because the thermostat is programmable. The most effective schedule depends on the building, insulation, heating system, climate, and household routine.
If your thermostat supports occupancy-based or adaptive features, review the settings before enabling them. Make sure the system behaves as expected when nobody is home.
8. Common Smart Thermostat Installation Problems
The thermostat does not power on
Check the HVAC power supply, breaker, wiring connections, and C-wire configuration. Do not continue troubleshooting exposed wiring while the system is powered.
The thermostat cannot connect to Wi-Fi
Check the network password, router coverage, and the device’s wireless requirements. Move the router or improve coverage if the signal is weak.
The heating or cooling system does not respond
Recheck system compatibility and the wiring against the manufacturer’s instructions. Incorrect wiring or an unsupported HVAC configuration may prevent normal operation.
The app cannot complete setup
Restart the thermostat according to the manufacturer’s instructions and repeat the guided setup. Check for available firmware updates.
Product Recommendation: Amazon Smart Thermostat
The Amazon Smart Thermostat is a practical option for households already using Alexa.
Its main advantages include app-based temperature control, programmable schedules, and integration with compatible Alexa devices. It is particularly worth considering if you want to replace a conventional low-voltage thermostat without building a complicated smart home system.
However, compatibility is the deciding factor. The C-wire requirement and HVAC system limitations should be checked before ordering.
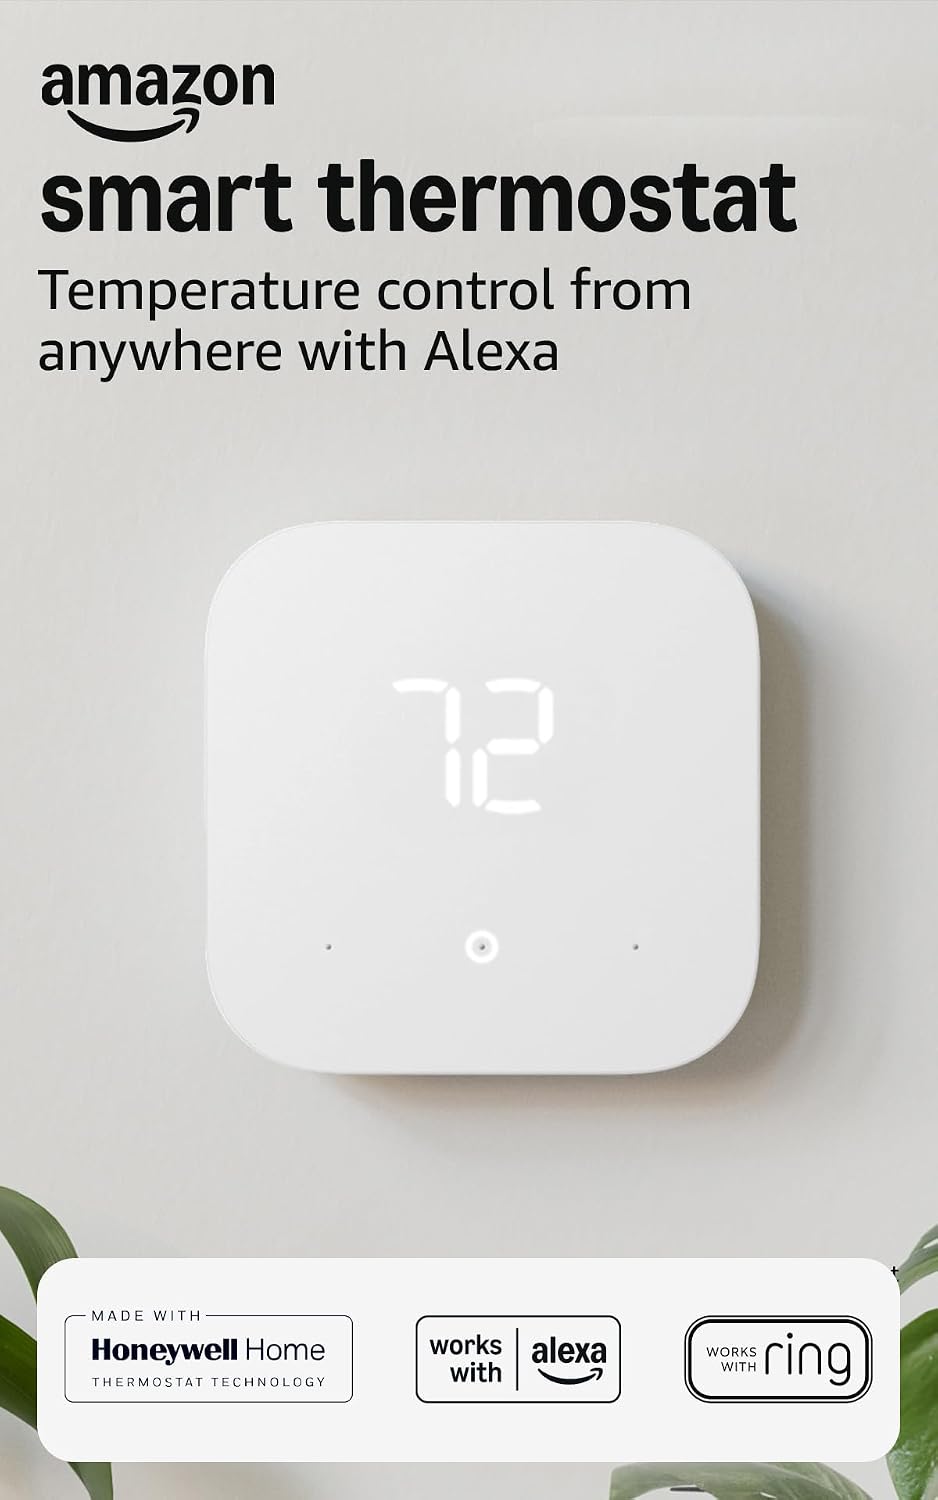
Amazon Smart Thermostat
ENERGY STAR certified smart thermostat designed for low-voltage 24V HVAC systems with Alexa app-guided setup and automated energy-saving routines. Requires a C-wire or compatible adapter.
As an Amazon Associate, LifeMode earns from qualifying purchases.
Final Thoughts
Replacing a traditional thermostat with a Wi-Fi model can improve convenience and make temperature scheduling easier. The most important preparation step is confirming that the thermostat is compatible with your heating and cooling system.
Check the wiring, identify the C-wire, follow the manufacturer’s instructions, and use a professional installer if you are not comfortable working with HVAC wiring.
A properly installed smart thermostat should make everyday temperature control simpler without introducing unnecessary complexity. Explore our Smart Home Hub for more practical guides on modern connected home devices.